Ruby
⚠️ macOS ships with its own installation of ruby. However, the shipped version is 2.x which is not suitable for tool builds that require a ruby version >=3.0.
❗️ DO NOT update or configure the default macOS system ruby as this could cause disruptions to normal operations.
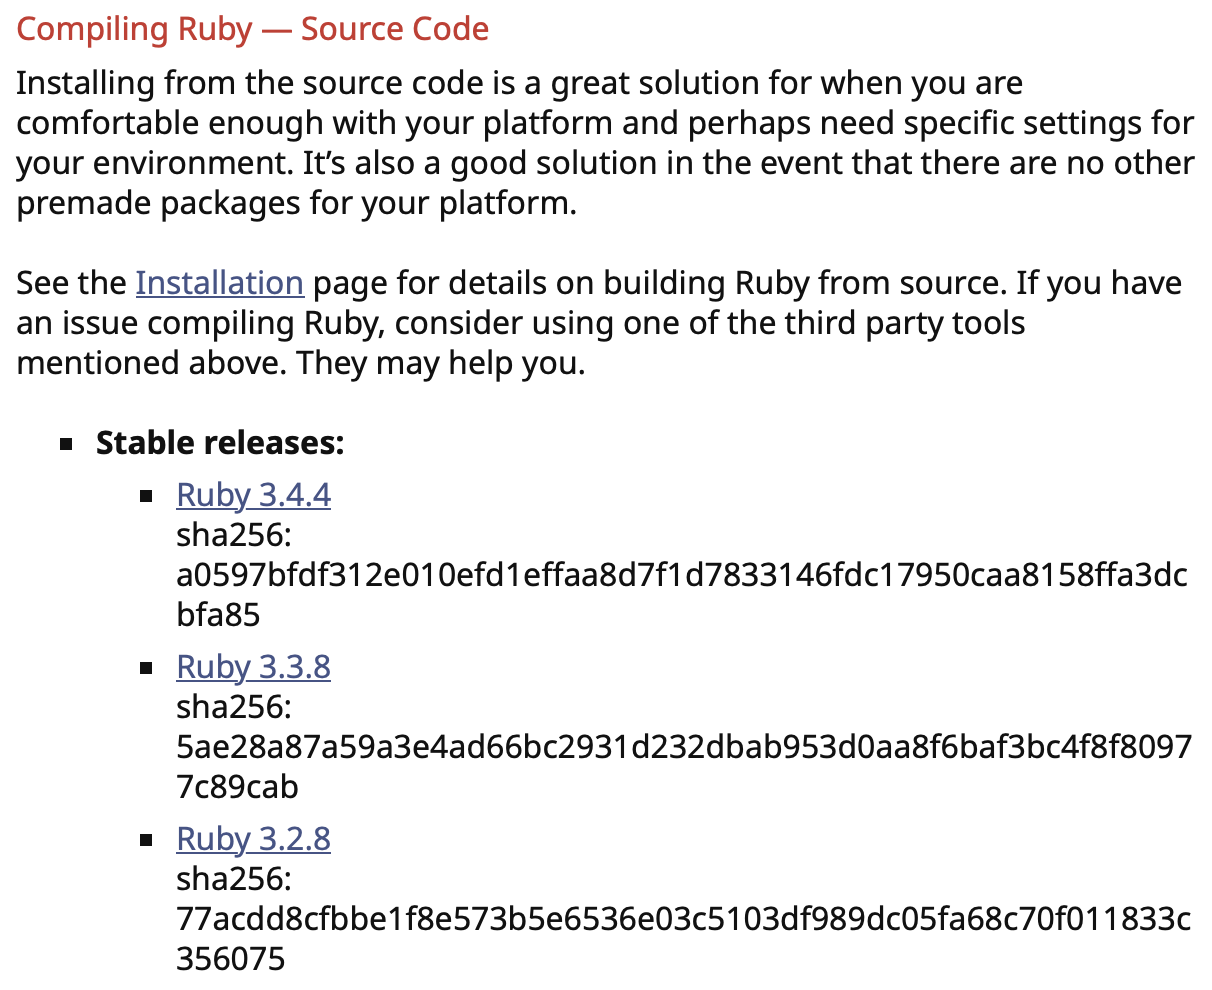
Figure 1: Download Ruby / Compiling Ruby Section
Step 1: Download tarball
Download will be available in $HOME/Downloads directory. Move tarball to appropriate working directory.
Step 2: Extract tarball
tar -xvf ruby-3.2.8.tar && rm ruby-3.2.8.tar
cd ruby-3.2.8
Step 3: Configure ruby build
mkdir build && cd build
../configure --prefix="${HOME}/.rubies/ruby-master"
📝 Per the, Building Ruby Quick Start Guide, it is best practice to establish a build directory that will host the Makefile and configurations for ruby. It is also best practice to create a local directory e.g. $HOME/.rubies.ruby-master for the final installation.
Step 4: Make and Install ruby
make
make test
📝 confirm tests completed successfully
make install
📝 sudo permissions are not needed for installing in user owned directories.
Step 5: Update PATH in $HOME/.zshrc file
After installation, the $PATH needs to be updated to include the $HOME/.rubies/ruby-master/bin directory. This directory needs to be placed towards the front of the $PATH to ensure it is used first, when making calls to ruby, instead of the macOS ruby system directory, /usr/bin.
vi $HOME/.zshrc
Add the following line(s):
# Created for 'ruby' version 3.x
export PATH="$HOME/.rubies/ruby-master/bin:$PATH"
📝 Using ruby or gem in the terminal will now leverage the installations from $HOME/.rubies/ruby-master/bin.
Step 6: Verify ruby and gem versions
📝 gem is the package manager for ruby; it is installed automatically as part of the build process.
ruby -v
gem -v
Step 7: Verify macOS ruby and gem versions are different
📝 macOS default ruby is installed in /usr/bin
/usr/bin/ruby -v
/usr/bin/gem -v